How to Do a Correct Dip: Obtain Solid With the Dip Workout
Introduction
Getting a solid, strong upper body isn’t just about lifting heavy weights. Sometimes, the most effective exercises are those that use your own body weight to challenge and sculpt your muscles. One such exercise is the dip. The dip workout can be a game-changer when it comes to building your chest, triceps, and shoulders. In this comprehensive guide, you’ll learn how to perform a correct dip, maximize its benefits, and avoid common mistakes. So, let’s dive in and discover how to obtain a solid physique with the dip workout!

How to Do a Correct Dip: Obtain Solid With the Dip Workout
Mastering the dip workout requires proper form, technique, and dedication. Here’s a step-by-step guide to performing dips correctly:
- Warm Up Your Upper Body
Before diving into the dip workout, it’s essential to warm up your upper body. Perform light stretches, arm circles, and shoulder rotations to prepare your muscles for the exercise. - Find the Right Equipment
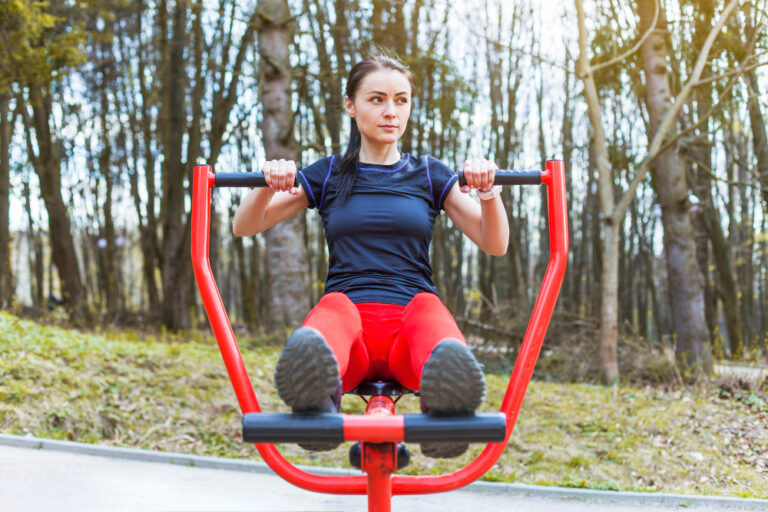
Look for parallel bars or dip stations at your gym. If you’re working out at home, consider using sturdy chairs or parallel bars designed for home use. - Adjust the Bars’ Width
Position your hands on the parallel bars, ensuring they are slightly wider than shoulder-width apart. This grip will target your chest and triceps effectively. - Maintain Proper Posture
Keep your chest up, shoulders back, and core engaged throughout the exercise. Avoid slouching or rounding your back, as this can lead to strain and improper form. - Initiate the Descent
Lower your body by bending your elbows, allowing them to form 90-degree angles. Keep your elbows close to your body, rather than flaring them out. - Control the Movement
Avoid using momentum to push yourself back up. Instead, focus on using your chest and triceps to lift your body. Maintain a slow and controlled pace. - Fully Extend Your Arms
Push through your palms to extend your arms fully at the top of the movement. This completes one repetition of the dip. - Breathe Properly
Inhale as you lower your body and exhale as you push yourself back up. Proper breathing helps stabilize your core and maintain control. - Start with Assistance
If you’re new to dips, use a resistance band or have a partner assist you by holding your legs. This reduces the weight you’re lifting and allows you to build strength gradually. - Progress Gradually
As you become more comfortable with the exercise, gradually reduce assistance or increase the number of reps and sets. Challenge yourself while maintaining good form.

Benefits of the Dip Workout
The dip workout offers a multitude of benefits that contribute to a stronger and more defined upper body. Here are some key advantages:
- Muscle Building: Dips primarily target the chest, triceps, and shoulders, helping you build muscle and increase upper body strength.
- Functional Strength: This exercise mimics real-life movements, enhancing your ability to perform pushing motions and carry out daily tasks.
- Variety: Dips can be modified to focus on different muscle groups. Leaning forward targets the chest, while staying upright emphasizes the triceps.
- No Equipment Necessary: Dips can be performed using parallel bars, chairs, or even a sturdy countertop, making them a versatile bodyweight exercise.
- Joint Stability: By engaging multiple muscle groups, dips improve joint stability and help prevent injuries.
- Calisthenics Challenge: For those interested in calisthenics, dips are a fundamental and impressive skill to master.
Common Mistakes to Avoid
While dips are highly effective, performing them incorrectly can lead to injury or suboptimal results. Here are some common mistakes to steer clear of:
- Flaring Elbows: Allowing your elbows to flare out places unnecessary strain on your shoulders. Keep them close to your body throughout the movement.
- Incomplete Range of Motion: Failing to lower yourself to a 90-degree angle cheats you out of the exercise’s full benefits. Ensure you reach proper depth.
- Poor Posture: Slouching or rounding your back can strain your spine and shoulders. Maintain a straight and upright posture.
- Using Momentum: Swinging your body to gain momentum makes the exercise easier but less effective. Focus on controlled, deliberate movements.
- Neglecting Core Engagement: Your core plays a crucial role in stabilizing your body during dips. Keep it engaged to prevent overarching your lower back.
- Rushing the Movement: Performing dips too quickly can compromise form and reduce muscle engagement. Take your time for maximum results.
FAQs About the Dip Workout
Q: Can dips be harmful to my shoulders? A: When performed correctly, dips can actually strengthen your shoulder muscles and joints. Just ensure you avoid flaring your elbows and maintain proper form.
Q: How many reps and sets of dips should I do? A: Start with 3 sets of 8-10 reps and gradually increase as you become more comfortable. Listen to your body and adjust based on your fitness level.
Q: Can I add weight to my dips? A: Yes, once you’ve mastered bodyweight dips, you can add weight using a dip belt or weight plates. Start with light weights and progress slowly.
Q: Are dips suitable for beginners? A: Absolutely! Beginners can start with assisted dips using resistance bands or partner assistance. Focus on building strength and mastering proper form.
Q: Can I do dips at home without equipment? A: Yes, you can use sturdy chairs, a countertop, or parallel bars designed for home use. Be sure to prioritize safety and stability.
Q: Are dips better for chest or triceps? A: Dips are a compound movement that targets both the chest and triceps. Leaning forward emphasizes the chest, while staying upright targets the triceps.
Conclusion
The dip workout is a fantastic addition to your upper body training routine. By following proper technique and gradually progressing, you can obtain solid results and develop a strong and well-defined upper body. Remember to warm up, maintain good posture, and avoid common mistakes for a safe and effective dip workout experience. Whether you’re a beginner or an experienced fitness enthusiast, dips have the potential to take your strength and muscle-building journey to new heights. So, why wait? Start incorporating dips into your workout routine and watch your upper body transform!